Jun 2, 2020
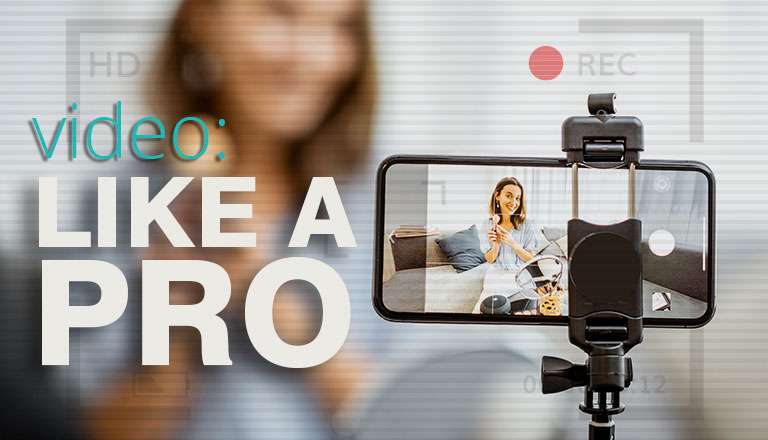
Creating Food Videos: On-the-Go Like a Pro
Grow your audience and scale your revenue by creating content-rich food videos that captivate your audience.
First things first: More time creating does not = better quality video. Period.
You can put all the time in the world into creating your 2-minute food videos and making them shine like you’re trying to win the Grammy for Best Internet Video—but if you don’t have good content, no one will really care. Or worse, remember.
Content First. Pretty Later.
And how exactly are you going to make your on-the-go like a pro food video creation? Well, the short answer is simple — you likely have everything you need to get started. Maybe you just need some pro tips on how to make the best with what you’ve got now. And, when you’re ready to upgrade… we’ve got some suggestions for that too.
Use what you have and upgrade equipment, accessories, etc. as you can (whenever the budget allows!). You don’t need the latest and greatest iPhone to create meaningful content NOW! Click here to find out more on this.
Camera vs. Phone
Each has its place and purpose. Without going into too much detail here are the highlights for each:
CAMERA: better in low light; blurry background; interchangeable lenses; dedicated storage.
PHONE: already have it on you (likely); can edit & upload; smaller and lighter.
An Overview: 4 Key Filming Tips
1. Audio Is the Most Critical
Bad Video with Good Sound (thumbs up) / Good Video with Bad Sound (thumbs down)
Your built-in sound capabilities on, say, your iPhone or Android are fine for now. If you do decide to invest in outside equipment, audio should be your first go-to upgrade. This is the most critical part of creating any videos. If you have poor sound quality, no one will stick around to listen. If you have poor video quality, there are some tricks to getting around this like dubbing over glitches, turning it into a podcast, or overlay some graphics and text to get the job done. As long as you have a good sound, there’s always hope!
When you are ready to upgrade, consider using an external microphone source. There are many choices, and each has a specific purpose. Wired lapel mics are great because the closer you are to your audio source, the better. Even better, consider a wireless lapel mic—it’s wireless. …No explanation needed. Some people, myself included, cringe at the thought of bulky wires. Other options are a Shotgun video microphone, which is great for when you are going to be moving around.
Some other helpful audio tips:
The closer the microphone, the better the audio (see lapel mic above).
Monitor your environment for background noises like traffic, children, nagging couples, etc.
Try to eliminate or reduce wind noise by either changing locations or using a wind screen, like a Dead Cat. Seriously, that’s what the Pros call it. I can’t make this stuff up!
2. Lighting
When lighting, remember—it’s always most important to light yourself first. Or light whoever is going to appear on camera. If we are sticking to our original goal above…. “use what you have first and upgrade later.” It’s okay if you are not toting around lighting like you are setting the runway for New York Fashion Week. Use what you have: a simple table lamp or some other external lighting will do. Natural light is great and good for the soul (snd the complexion!). Whenever possible, if the time of day is appropriately lit for your location, sit by a window, a door, or even get outside.
If you are willing and ready to invest, there are some external traveling lighting options that you can explore. Shop around for the solution that best fits your needs and your budget. Sometimes a small traveling light is all it takes.
3. Tripod/Stabilizer
Try to minimize or even remove altogether ‘the shakes’. You know what I’m talking about. The goal here: get the phone out of your hands! At the very least, if you’re staying still, so should your phone. If you’re at a desk or near a stable surface, invest in a modest tabletop tripod. If you’re standing, there are also some great standing tripods to choose from. Some of these tripods may require an additional purchase of a phone holder, but it’s worth it not to have your videos look like you are filming live from an active fault line.
If you are ‘on the move,’ you can still do some things to alleviate ‘the shakes’. Items such as Switchpods or the Gimbal Stabilizer (for more advance filming) are great if you are moving right along and your subjects are too!
4. Camera Settings
Above all else… Clean. Your. Lens. Once you’ve mastered this critical (duh) task, you can move on to more detailed things such as: taking your camera out of auto-mode. I cannot speak to Android users, but on the iPhone, this is a simple as tapping on your camera screen and holding to bring up your Auto Exposure/Auto Focus feature. From here you can tell the camera where to focus, and adjust the brightness, etc. accordingly. If you are wanting to be more aggressive with your camera-editing capabilities, there are a number of advanced camera apps out there that you can explore and find the one that best suits you.
You too can create on-the-go-videos like a pro.
Just remember:
More time creating food videos does not = better quality food videos.
And, content first, pretty later.
If you have any questions or would like to learn more about this topic, please reach out to the NewPoint team. If you are interested in more food marketing topics, please visit our “Intel” page or check out NewPoint’s book: Moving Your Brand Up the Food Chain.


